Showing posts with label Home Decor. Show all posts

Saturday, February 14, 2015

A little more Valentine's Love

Just a little more Valentine's love.


Who says paper chains are just for Christmas? Love these made with Heartstrings paper. 


May you have lots of love on this Valentine's Day and throughout the year!

Friday, February 13, 2015

Vintage Valentines

Happy Friday the 13th! (I've always kind of liked the day) And Happy Valentine's Day tomorrow!

I LOVE Vintage Valentine's. I've shared with you in the past some of my favorites. This year, my mother in law found some that she had saved from her youth that she gave to me and I picked up a couple of new ones at a vintage show. But how do you display the little beauties?


I can't take credit for this idea. It goes to my mother who thought of it first. I used Pixie Twine to string along my mantel. Then I clipped the individual Valentines to the twine using mini clothespins. Isn't that cute?!


Close to My Heart has mini clothespins available, but until the end of March, they also have these cute ones with hearts and embellishments on them.


I have such a soft spot for these cute little Valentines. Isn't this so sweet?


These two were among those my mother-in-law gave to me. I love the TV one so much!

Happy Valentine's Day!

Friday, January 9, 2015

Brr!

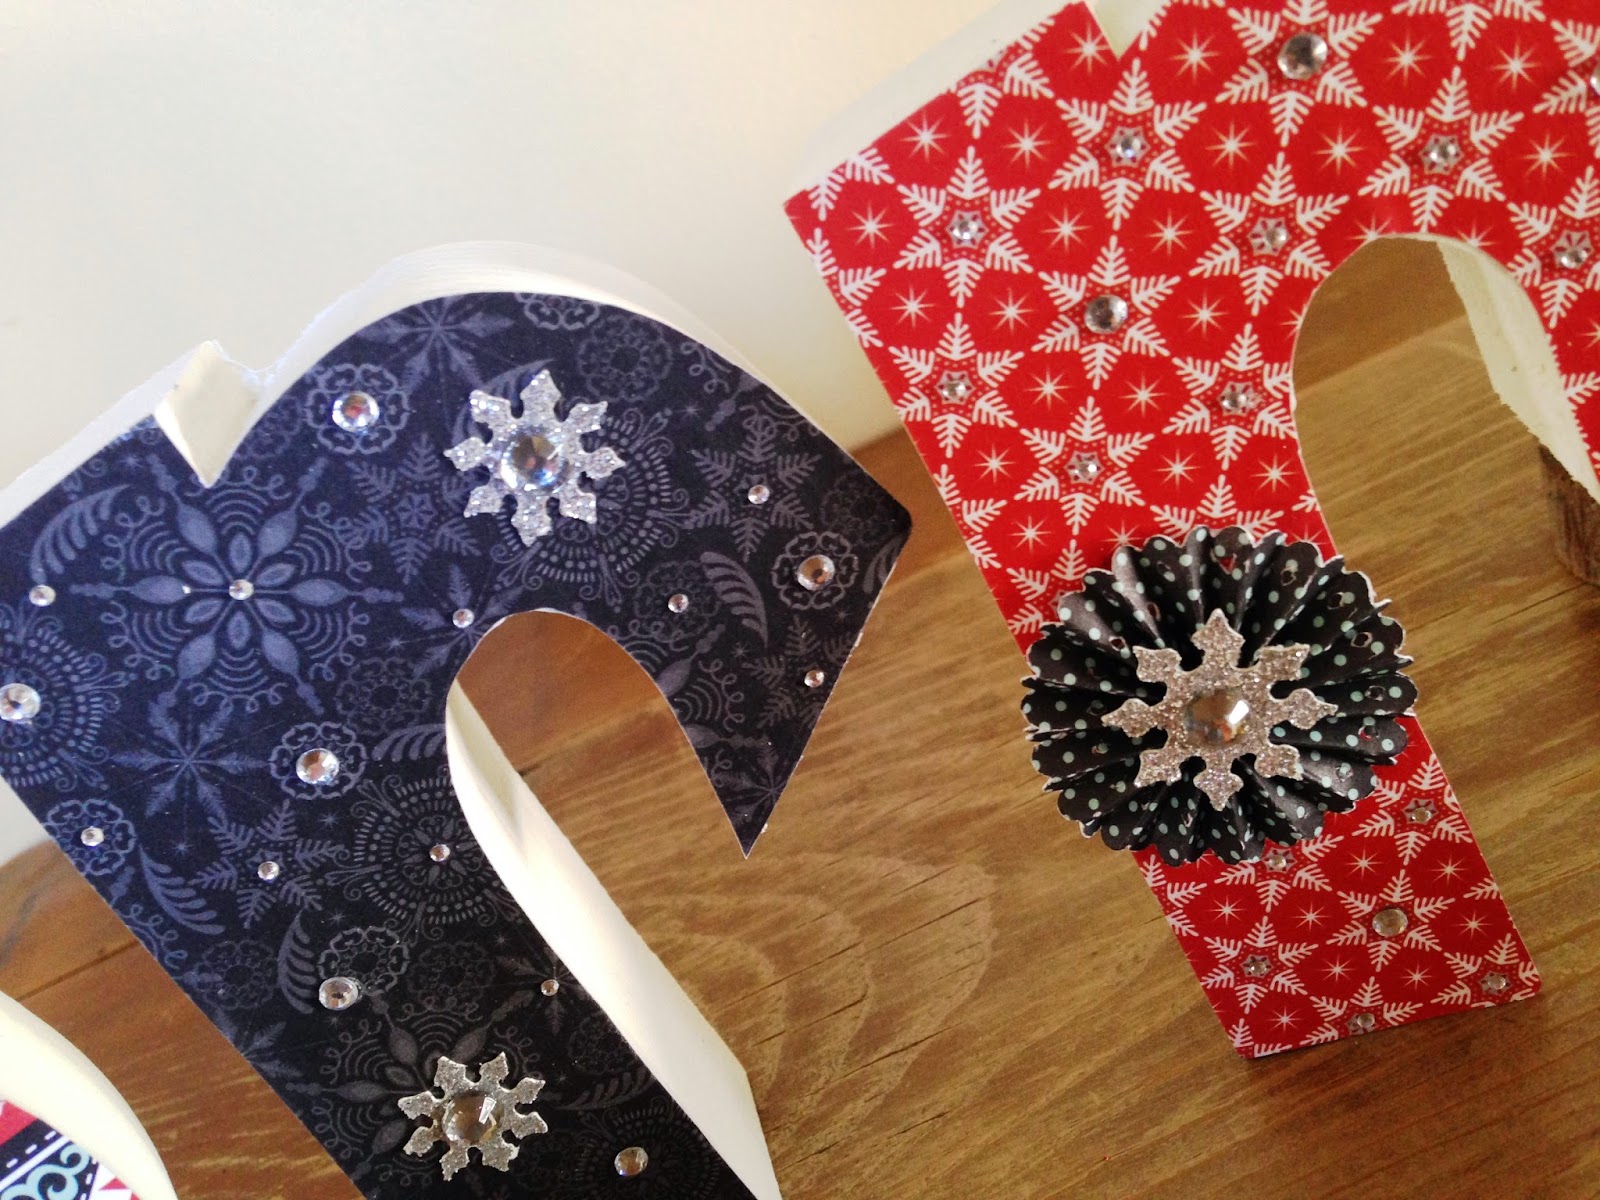
The house seems a little blah since I took down the Christmas decor. And on top of that, it has been cold. So, thanks to my lovely friend RaNae Fennema who originally designed these letters and gave me a set to make, I decided to bling up the cold a bit. With a little Snowhaven paper and some sparkles, it makes the cold winter a little more bearable.


Thanks goodness for friends who inspire us!

Thursday, April 3, 2014

Simply Inspired Blog Hop--Skylark


It's time for another blog hop. And this time we are playing with Skylark. You should have arrived here from the talented and beautiful Karen Pedersen's blog. Should you get lost along the way, you can go to this link to see the full list of bloggers.

My life has been more than a little crazy these last few weeks so I chose to keep it simple this time around, very simple. I used the Skylark Picture My Life Scrapbooking program to create an easy, quick memory decor project.


I mix and matched some of my favorite 3x4 cards and chose one 4x6 card. I cut the cards down just a little to fit the spaces in the 5x7 Hinged Display Tray. Then I chose some of my favorite photos from our trip to Europe in 2008 (thank you Close to My Heart for the fabulous trip) and added a few embellishments.


It didn't take much bling. A few pieces from the Skylark Assortment and a few Epoxy Bubbles. I added a quick title with the Keyboard Kraft Alphabet. I truly spent more time mixing and matching cards and choosing photos than I did actually creating. This is the perfect project when life is busy but you need a little creative downtime to keep you sane.

One last close up. Love this man! Our 25th anniversary is coming up this year!


Thanks for stopping by. And now on to the lovely, inspiring Pamela O'Connor's blog.  Happy Blog Hopping!


Monday, August 12, 2013

An Inexpensive Gift Idea

I LOVE Ikea. I can spend hours wandering through that store. I recently picked up some inexpensive frames for 99 cents. I tossed them in my cart thinking, "I can do something with that."

Well, it did not sit in my craft room long before I did make something with it. With some leftover paper from my stash, a little twine, some washi tape, my Close to My Heart stamps and a little inspiration from a Heidi Swapp video, here is what I made.


Quick, easy and very inexpensive. All I need to add is a photo.

My daughter went to a girl's retreat and had to come up with a secret sister gift for $2.00 or less. Now that is hard. But I had another Ikea frame in my stash and she duplicated this frame. A darling gift for less than $2.00 and made from the heart. Her secret sister loved it. 

Tuesday, April 2, 2013

Spring Surprises


I love this time of year. The sun is shining more, my daffodils are up and the stores are full of colorful shoes and clothing!

This past Easter weekend was full of sunshine and color. I had family in town, we went shopping (and yes, I have some cute new pink shoes to welcome spring in), my daughter did well at her color guard competition. My husband and my father did a major overhaul on my yard and it is starting to look alive and well (thank you so much to my dad who pruned trees and shrubs and rose bushes for an entire day). But one of the highlights of my weekend was coming home to find this on my kitchen table.
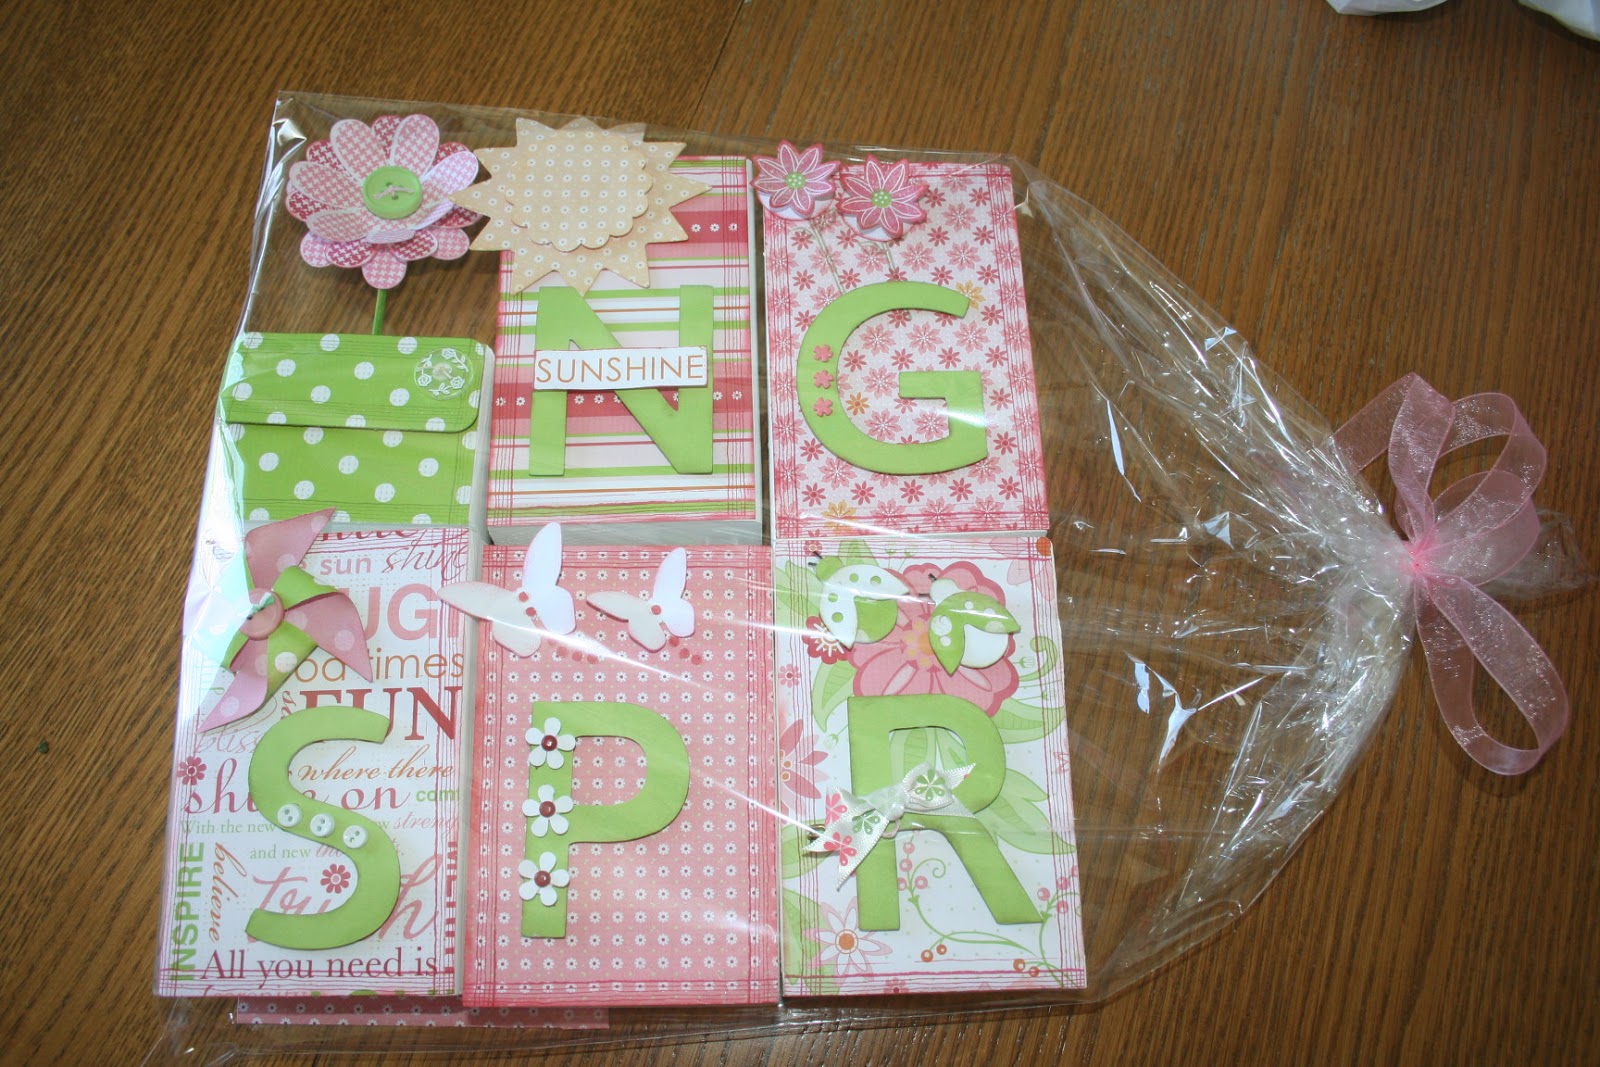
My lovely friend, Dora Glazier, made me these beautiful spring blocks.
Look at the fun detail on these letters. I love the little gardening fork.

And look at the cute card that came with it.

I love having creative friends that love me! I need to pay this loveliness forward. When was the last time you made something fun for someone just because? Maybe you should do that this week. I know from experience that it will make their day!

Saturday, December 15, 2012

Joy to the World


It is snowing here and absolutely beautiful outside. It almost feels like a blessing after yesterday's tragedy in Newtown, CT. My heart still hurts for the families of those lost but the snow is a beautiful reminder that the world is good.

Today's little project is to remind us of the same. This is a joyful time of year and the snow is so complementary to these darling Joy blocks. The lovely Renae Fennema designed these using our Monogram stamps, Avonlea papers, the beautiful slate satin polka-dot ribbon, and My Creations Blocks. I'm considering taking four blocks, using the same papers and making some that say Snow.


By the way, if you love Monograms, watch this little video. It gives great inspiration with our Monogram stamps. So much fun!


May you all have a joyful and beautiful day! Hug your loved ones tight and enjoy the season!

Monday, November 26, 2012

Christmas Decorating


Christmas decorating at my house can be.... ummmm... a bit stressful. You see, my mother is the Queen of Christmas. She has a minimum of four Christmas trees, she has Christmas decor in every room, and her home is Christmas magic. Just ask my kids. They will tell you that no one's home is more magical than my mom's at Christmas. Even though my mom has never put the pressure on me to match her decorating, I think I have felt this incredible need to make the holidays as magical as my mom made them for us and continues to make them for her grandkids. But when I start decorating, it is anything but magical. With the exception of putting up the "fun" Christmas tree, my family does their best to stay out of my way.  Once I'm done, all is well, at least until it is time to take it all down.

This year, with Thanksgiving being earlier in the month, I have resolved not to become the Christmas Decorating Grinch. On Sunday afternoon, we took down the minimal Thanksgiving decor I had and we put up the "fun" tree. I did not lose my patience once in the whole evening. And I was proud of myself. When the tree was done, we cleaned up and I lived with the empty mantel and other surfaces that were awaiting Christmas decor.

Tonight, I did a bit more. The stockings are hung, some of my favorite decorations are up. And once again, I quit while I was ahead. I figure about another hour or so tomorrow and then an hour to put up my Nativity Tree on Saturday (I need my husband's help for that one) and I will be done. Could it be I'm turning over a new leaf? I think it's more likely the four day weekend and fun with family and friends has lowered my stress level and saved me from my usual overwhelmed self.

In the spirit of Christmas decorating, I pulled these little gifts out tonight.


These were made for me last year by Michelle Beck using pre-cut wood and Close to My Heart paper. I don't remember if I posted them last year or not but even if I did, they are worth another post. These would make such simple, fast Christmas gifts. Not overwhelming at all!

So Merry Christmas everyone! May your decorating be as stress free as mine this year! And may your holidays be magical!

Tuesday, November 13, 2012

Happy Fall!


It seems like we just celebrated Halloween and suddenly I realize it is the 13th of November?! Time flies. We've already had the first snow at my house and I'm getting excited for the holidays.

I don't have a lot of Thanksgiving decor. I put up some leaves, a pilgrim or two, a little village my mom gave me long ago and call it good. It's kind of a nice change after all the Halloween spookiness and before the massive Christmas decorating.  But this year, the wonderfully talented ladies at Scrapping Girlfriends in Twin Falls, ID had shared a fun fall craft with me made from old books. It turned out to be a great addition to my fall decor and I even shared it with my stamp club. So here goes:

Altered Book Pumpkins

Get an old book from your library book sale or the local thrift store. The Rebellious Ward is perfect! Harlequin Romances seem to be the perfect size for this project--you don't want more than about 250 pages per pumpkin. Not to say a bigger book can't be used, you just may want to divide the book into multiple sections instead of just two (a student dictionary ended up making three pumpkins). The more pages the more unwieldy it gets as you work. 
Remove the cover and carefully divide the book into two even parts by cutting down the binding with an Xacto knife. Draw a half circle on the halves. Remember to leave a flat piece on the bottom so your pumpkin will stand.
Using an xacto knife, carefully cut into the half circle shape. 
Now ink your edges. I used chocolate ink and inked the edges really well every few pages.
Taking two pages at a time, crumple the pages. Don't be shy about this but don't get carried away and rip the pages out of the book either.
You should end up with two halves that look similar to this.
Next, apply hot glue down the binding and glue the two halves back together. 

 You should end up with something like this. Now, it's time to accessorize!
Here we have The Rebellious Ward all dressed up for Fall!
And here she is with her friend, a student dictionary!
Happy Fall!

Wednesday, July 25, 2012

Life is Better in Flip Flops!


In celebration of summer time and cute flip flops, check out this cute banner. I can't take credit for it. I totally stamp lifted it from my wonderful friend Ginni Candelaria. Yea for summer and Yea for creative friends who inspire us!


Saturday, October 1, 2011

Halloween Countdown

I love Halloween. My kids start planning their costumes early, I decorate the house indoors and out. And this year, I'm adding a new piece to my decor--my Halloween countdown. Inspired by a Heidi Swapp creation found on Pinterest, I made a Close to My Heart version. I used the All Hallows Eve stamp set, the Mischief paper packet and my Cricut Art Philosophy cartridge. And now I'm ready to start counting down to Halloween.


If anyone is interested in doing this as a workshop with some of your friends during the month of October or purchasing a kit to make your own, give me a call or send me an email.

Monday, July 25, 2011

It's time...

Ok, I've been purposely putting off creating a blog for my Close to My Heart business. One, it requires a regular commitment. Knowing that I haven't updated my family's blog in over a year didn't bode well for a new blog. Two, knowing that my life is already incredibly over scheduled, I didn't know if it was a good idea to add another responsibility to my already busy life. But the bottom line is, I love Close to My Heart and I love stamping and scrapbooking and it was time to jump aboard the blogging band wagon and share my love of these things. You may get some random other posts here and there depending on my mood but here, I hope to share with you some great ideas, inspire you to create and, of course, keep you informed of the latest and greatest CTMH deals.

So let's get right to it.

There is still time in July to take advantage of an amazing Stamp of the Month. My son enlisted in the Marines a few months ago and his date to leave for boot camp is fast approaching. So this year, creating something patriotic was a little more meaningful. Using the July Stamp of the Month, American Celebration (D1458), and Hero (D1474), and the My Creations Banner (Z1378), I created these flag pennants for my 4th of July decor.

I base painted the pennants, painted them with crackle paint and then top coated them in white paint. Then using the Versamark Ink pad (Z891), Outdoor Denim Embossing Powder (Z656) and Cranberry Embossing Powder (Z659), I embossed the stamped images on the flags.


With a little leftover Fanfare paper (X7138B) and some scraps of Kraft Color Ready Borders (Z1377) I added some extra touches. These pennants would be darling without the paper scraps and with just the July Stamp of the Month. Look at the great images in this set:


These are perfect for Patriotic ideas but they can also be used for non Patriotic creations as well.

Love it! Remember, the Stamp of the month can be purchased for $22.95 or with every $25.00 you spend, take an additional 25% off (50% off at $50.00, 75% at $75.00, free at $100.00). And this month, if you spend $50.00, you would get the stamp of the month at 50% off and you can take advantage of July's More Bang for Your Buck Special. With your $50.00 order, you can purchase any of the following items for just $1.00 more!


OK, so for my first blog post, that was quite a bit of info. But there is just so much good stuff when it comes to Close to My Heart that it's hard to keep it brief. If you want to take advantage of any of these specials, give me a call or order here.

Watch for more good stuff to come! I know we're all crazy busy but all the more reason to take some time for yourself to create. Do it today--preserve a memory or make something fun for a loved one.