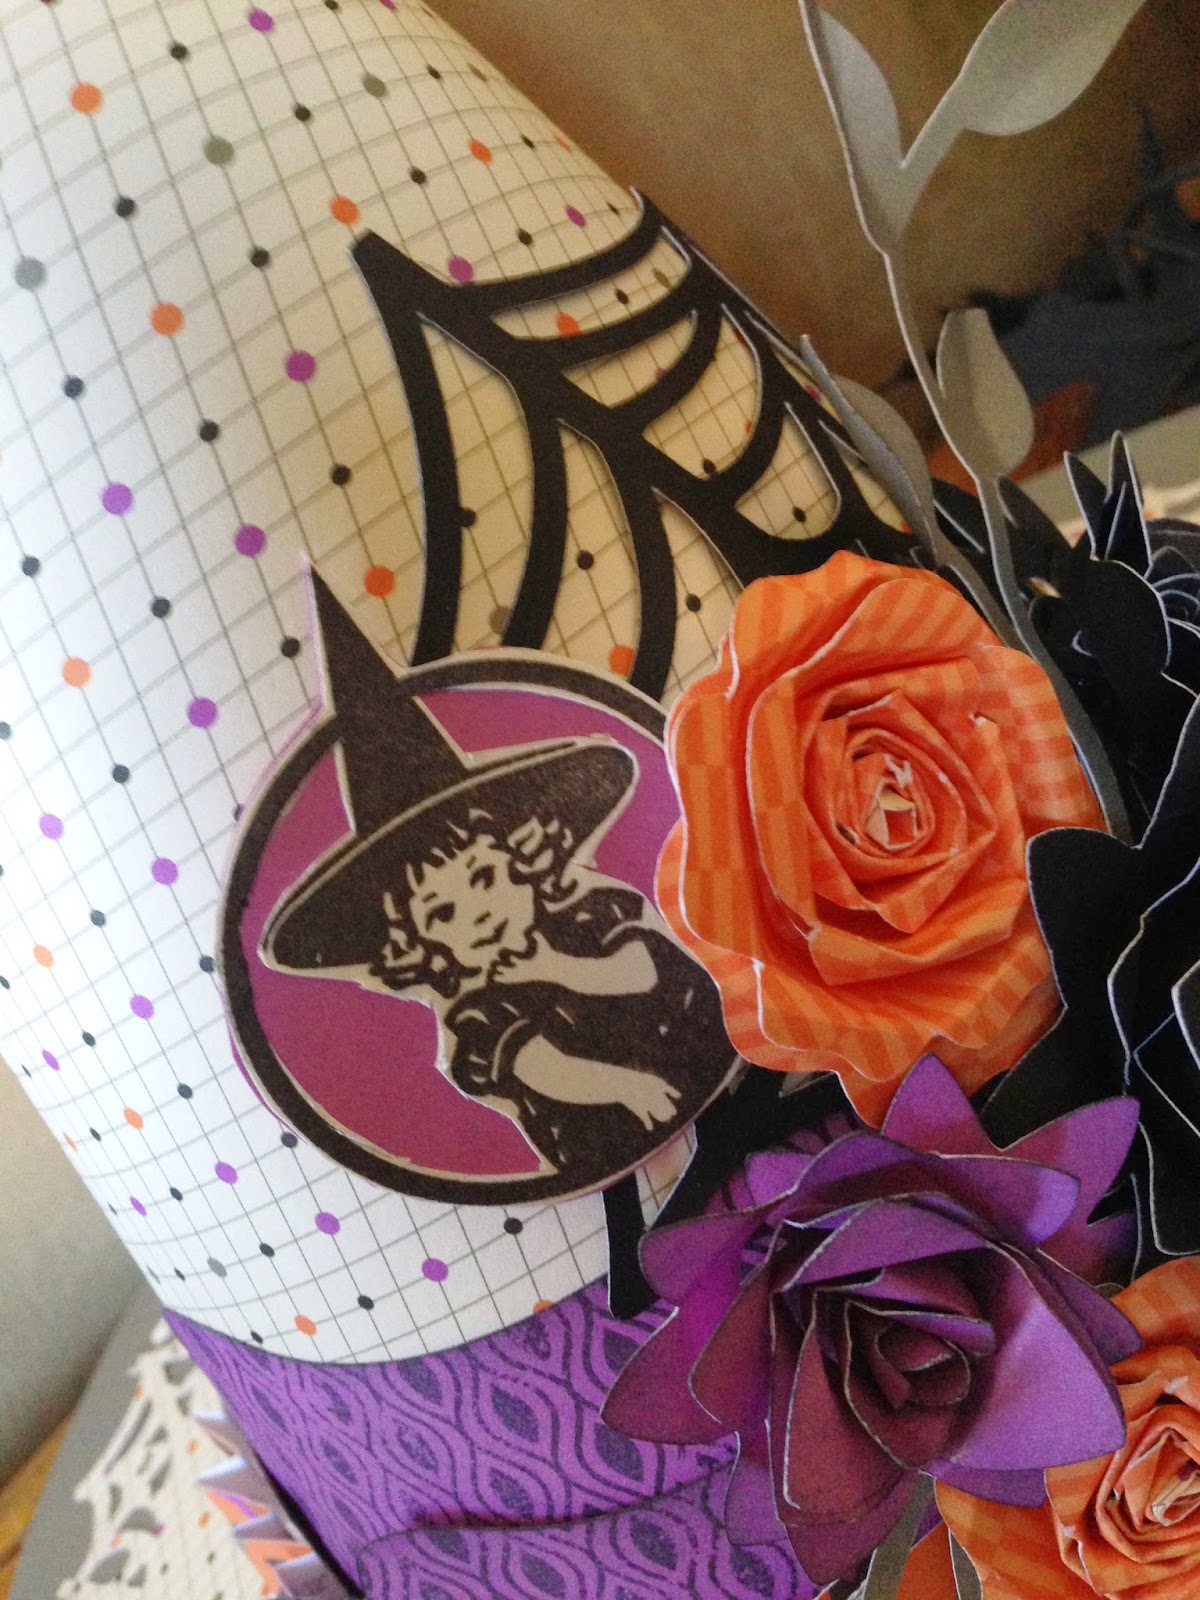
However, as with many projects, sometimes what looks simple enough really isn't. That was my experience with this hat. My challenge was the CONE!
I followed the instructions. I glued two sheets of patterned paper to two sheets of cardstock. I taped them together. I started to roll from the corner. And my cone was hideous and I couldn't figure out how to even off the bottom and I had a little kindergarten meltdown. Sooooo, I went to bed.
The next day, I watched a couple of YouTube videos on making cones and after work, I tried the cone again, this time with a little help from my very patient husband. We ditched the two sheets of patterned paper and went down to just one sheet of patterned paper adhered to a sheet of cardstock. Rather than just winging it, we created our own even pattern using a pencil and string. Tie the string to your pencil, hold one end of the string tightly at the corner of the paper and draw from the top corner to the other, keeping the string tight. Here is a little video clip of my husband drawing it out.
Once we had the pattern, I cut it out and rolled it into a perfect cone. And then, the rest all came together. The cricut cuts as seen here are still the correct size, I just used three cupcake liners instead of four.
Because I will be making these with my stamp club tonight, I needed to mass produce enough for ten so I simplified a bit and improvised on some of the products. I used black, thistle and slate cardstock, the Scaredy Cat paper packet, Geometric Backgrounds (but any background stamp would work), and black ink.
All in all, I think it turned out pretty great. We'll see if the lovely ladies coming to my stamp club tonight to make their own will agree. And hopefully, if you want to make one of your own, I've saved you a cone meltdown as well.
Halloween is only a week away! Happy Halloween!


No comments:
Post a Comment